When you're contemplating installing a multi-fuel stove, you might wonder how long the process will take. Generally, you can expect it to range from one day for simpler setups to several days for more complex situations, like those needing structural changes. But the timeline isn't just about the stove itself; factors like local regulations and the experience of your installer can also play a significant role. Understanding these variables can help you plan better, but there's more to contemplate before you get started. What other factors could impact your installation timeframe?
Typical Installation Time
When it comes to installing a multi-fuel stove, understanding the typical installation time can help you plan your project effectively. Generally, most standard installations can be completed in just one day. This includes scenarios like installing a new flexible flue liner into an existing chimney or a new fireplace hearth.
Even simple replacements of old stoves typically follow the same installation duration. However, if you're considering a more complex setup, such as a twin wall chimney system, you may need to adjust your timeline. For instance, factory-made twin wall systems in bungalows can still be done in one day, but installations within two-story houses can take two to three days, depending on the specifics. Keep in mind that external factors can delay installations, such as chimney size, shape, or obstacles. Additionally, a well-planned flue and chimney installation can streamline the entire process.
More intricate configurations, like custom twin wall systems, also require additional labor, which can extend the installation duration. If your project involves significant structural changes or complete fireplace renovations, expect a longer commitment—up to five days.
Factors Affecting Time
Installation times for a multi-fuel stove often vary based on several key factors. One major consideration is the complexity of the installation itself. The type of stove you choose, chimney requirements, and the design of the venting system all play significant roles. If you have to comply with local regulations or deal with space constraints, expect the installation to take longer. Installer experience is another essential factor. Hiring a professional, like a HETAS-certified installer, can streamline the process, while a DIY approach may lead to challenges that increase installation time. Having the right tools and being prepared to troubleshoot can also impact efficiency. Stove and flue specifications matter too. The size and type of stove should match your heating needs, while proper flue configuration is important for safety. Additionally, ensuring the installation meets building control requirements can add to the overall complexity. Adequate site preparation is critical, including evaluating space, cleaning the chimney, and confirming the floor can support the stove's weight. Finally, don't overlook stove maintenance requirements. Taking the time to verify everything meets safety and performance standards can add to the overall installation duration but is essential for long-term functionality. Additionally, ensuring ventilation check is performed can significantly enhance the safety and efficiency of your stove setup.
Pre-Installation Considerations
Before diving into the installation of your multi-fuel stove, it's crucial to take into account several pre-installation factors that can greatly influence the process and guarantee a safe, efficient setup.
By addressing these considerations early, you'll confirm compliance and avoid potential issues down the line.
- Check Local Regulations: Verify local building codes and obtain necessary permits to avoid legal complications.
- Inspect the Chimney: Conduct a thorough chimney inspection to confirm it's clean and free from damage.
- Choose the Right Location: Select a spot that allows for adequate clearances and consider the room's heating needs. Proper installation is key for safety and operational efficiency.
Start by consulting local authorities about specific requirements for multi-fuel stoves.
The stove's manual will also detail any additional regulations you need to follow.
A chimney inspection is crucial; make sure it's clean and structurally sound.
Hiring a professional chimney sweep can help confirm your chimney is in top condition.
Finally, choose a location that adheres to clearance requirements, positioning the stove on a non-combustible hearth to enhance safety.
Taking these steps will streamline your installation process and maximize efficiency.
Safety and Compliance
Guaranteeing safety and compliance is an essential part of the process after considering pre-installation factors for your multi-fuel stove. You must adhere to safety protocols and conduct compliance checks to avoid risks associated with improper installation.
| Safety Measures | Compliance Requirements |
|---|---|
| Maintain clearances from combustibles as per local codes. | Check local building codes and regulations. |
| Use non-combustible floor protection, extending 18 inches in front. | Verify installation standards with your insurance. |
| Install quality chimneys to prevent creosote buildup. | Choose stoves listed by recognized testing agencies. |
| Install CO detectors near the stove. | Ascertain installers are certified or HETAS registered. |
Regular maintenance is vital, including chimney cleaning, to guarantee safe operation. Always consult with certified professionals for installation, as incorrect setups can lead to serious hazards. After installation, obtain a certificate of compliance from your installer or local authority. Regular inspections can help keep your stove functioning safely and in accordance with ongoing regulations. By staying informed and proactive, you can enjoy your multi-fuel stove while minimizing safety risks. Additionally, ensure you consider flue liner requirements to optimize safety and efficiency in your heating system.
Installation Steps

Installing a multi-fuel stove involves a series of essential steps that guarantee both functionality and safety. First, you'll need to prepare the installation area by checking the required clearances and ensuring all materials are laid out for easy access. Inspect the stove and chimney components, and make sure you have the necessary permits in place.
Next, focus on chimney installation. Choose a heavy-gauge chimney pipe and attach it securely to the stove's flue collar using high-temperature sealant. Install support brackets as needed and connect additional pipe sections, ensuring they're sealed tightly to avoid installation challenges.
After the chimney is set up, position the stove on the hearth pad, verifying it's centered and stable. Connect the stove pipe to the chimney, sealing all joints to prevent smoke leaks. It's also crucial to ensure the flue is compliant with current building regulations to maintain safety standards.
Finally, seal any openings around the flue, install brackets for stability, and cap the flue to keep out animals. Conduct a thorough inspection to confirm everything is secure before planning for regular maintenance.
- Verify clearances and permits.
- Use appropriate installation tools.
- Address potential installation challenges proactively.
Importance of Professional Help
While you might be tempted to tackle the installation of a multi-fuel stove yourself, calling in a professional can greatly improve both safety and efficiency. Professional installers bring essential expertise, guaranteeing proper placement and compliance with local building codes. Their qualifications mean they understand the nuances of venting and can avoid the fire hazards that come with incorrect installation. Additionally, professional help ensures that you can fully benefit from the fuel versatility that multi-fuel stoves offer.
Here's a quick look at the benefits of hiring a professional:
| Benefits | Your DIY Risks | Installer Qualifications |
|---|---|---|
| Guarantees safety and efficiency | Potential fire hazards | Certified and experienced |
| Compliance with regulations | Fines for code violations | Familiar with local codes |
| Quality workmanship | Risk of costly errors | Access to manufacturer's manuals |
Tips for a Smooth Installation
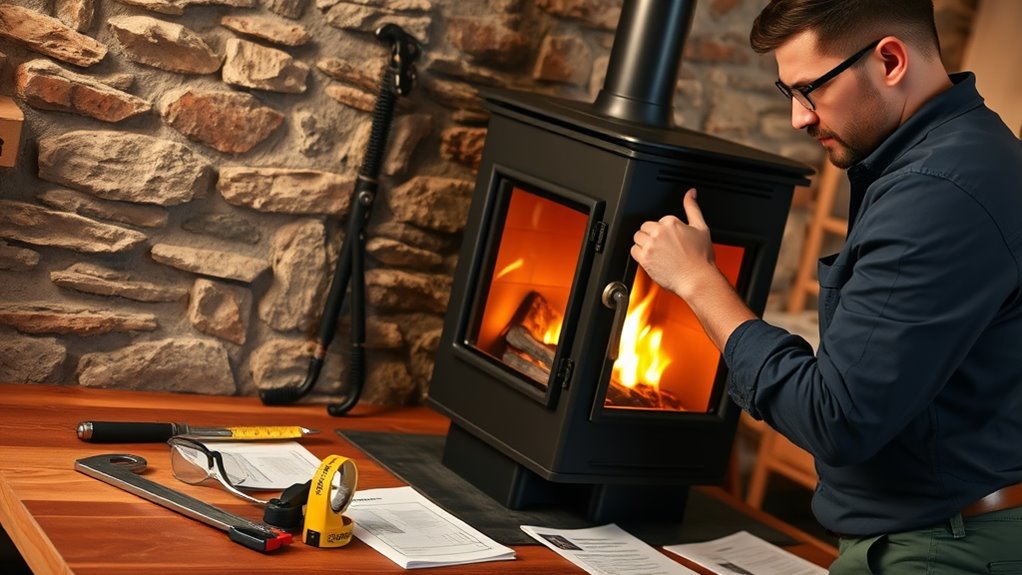
After recognizing the importance of professional help, it's time to focus on how you can achieve a smooth installation of your multi-fuel stove. Proper planning and execution are essential for a successful setup. Here are some tips to guide you:
- Verify Clearances: Make certain you maintain at least 36 inches from combustible surfaces, adhering to the manufacturer's guidelines.
- Gather Installation Tools: Before starting, collect all necessary tools and materials. This minimizes delays and guarantees every component is installed correctly.
- Plan the Chimney Route: Decide on the flue's route—internal or external—and prepare necessary openings and seals.
During installation, inspect your stove and chimney components for any damage, and use high-temperature sealants at all joints to prevent smoke leaks.
Additionally, selecting a stove that complies with international quality standards can enhance safety and ensure durability.
After securing the chimney with brackets and aligning it with a level, double-check clearances once the stove is in position.
Finally, don't forget about regular chimney maintenance post-installation to keep everything in good condition. Following these tips will help guarantee your multi-fuel stove operates efficiently and safely.
Frequently Asked Questions
What Is the Average Cost of Installing a Multi-Fuel Stove?
The average installation costs for a multi-fuel stove range from £800 to £3,000, depending on features and labor. Investing in a quality stove enhances fuel efficiency, saving you money in the long run.
Can I Install a Multi-Fuel Stove Myself?
You can install a multi-fuel stove yourself, but don't underestimate the safety considerations. DIY installation might sound simple, yet proper preparation, tools, and adherence to regulations are essential for a successful and safe setup.
Are There Specific Brands Recommended for Multi-Fuel Stoves?
When considering specific brands for multi-fuel stoves, focus on stove efficiency. Conduct a brand comparison among options like Beltane Chew, Woolly Mammoth, and Portway Rochester to find the best fit for your needs.
How Do I Maintain a Multi-Fuel Stove After Installation?
To maintain your multi-fuel stove, establish a cleaning schedule to prevent soot buildup, ensuring fuel efficiency. Regularly inspect the flue, check seals, and clean components to enhance performance and prolong the stove's lifespan.
What Types of Fuel Can Be Used in a Multi-Fuel Stove?
You can use wood pellets for efficient burning and easy handling, while coal briquettes offer high heat output and low emissions. Both fuel types provide versatility, ensuring your multi-fuel stove operates effectively and sustainably.
Conclusion
To sum up, installing a multi-fuel stove can take anywhere from one to three days, depending on various factors. By understanding these timeframes and preparing effectively, like having permits ready, you can make the process smoother. Think of it like piecing together a puzzle; each step, from safety checks to professional help, fits together to create a warm, efficient home. With a bit of planning, you'll be enjoying your new stove in no time.

Multi fuel stoves are an upcoming trend and the main reason as to why people are switching over to them Read more

As their name suggests, multi fuel stoves allow owners to burn a variety of fuels. They allow the use of Read more

A wood burning stove or multi-fuel stove can be part of a central heating system to keep your house warm Read more